December was my last month of working on the New York World’s Fair project. I mainly concentrated on cleaning up the scripts, and tools I developed and documenting those.
I majorly cleaned up the Maya Shelf. The main task was to focus on what is really needed for the current pipeline. That meant that the buttons to fixed function shaders went away as the NYWF project solely depends on cgFX at this point.
MayaShelf v1.5.32
And I created a training video explaining all aspects of the MayaShelf and also covering exporting from Maya to Ogre 3D and converting the export to the DNA pipeline that the project is using. DNA is the in-house scripting architecture that assembles scenes and modules to a working game/simulation at the SREAL Lab at IST.
You can watch the HD version with click-able chapters here!
Screenshots of training video
I also closed a few open tickets like adding trees inside the New York State and the federal pavilion, posters on walls at the Missouri pavilion plus I distributed the Bell Serpentine phone booths and the Bell Family booth across the entire fair and in general updated all files and made sure everything is checked in properly.
Phone BoothsNew York State TreesKodak Posters and LogosMissouri Pavilion PostersTrees inside Federal
This concludes an over two year adventure building a pipeline and implementing assets into the Ogre 3D render engine. It was a great experience to work with some very bright minds and very talented content creators on this adventurous production which, in comparison, makes climbing K2 look like a piece of cake.
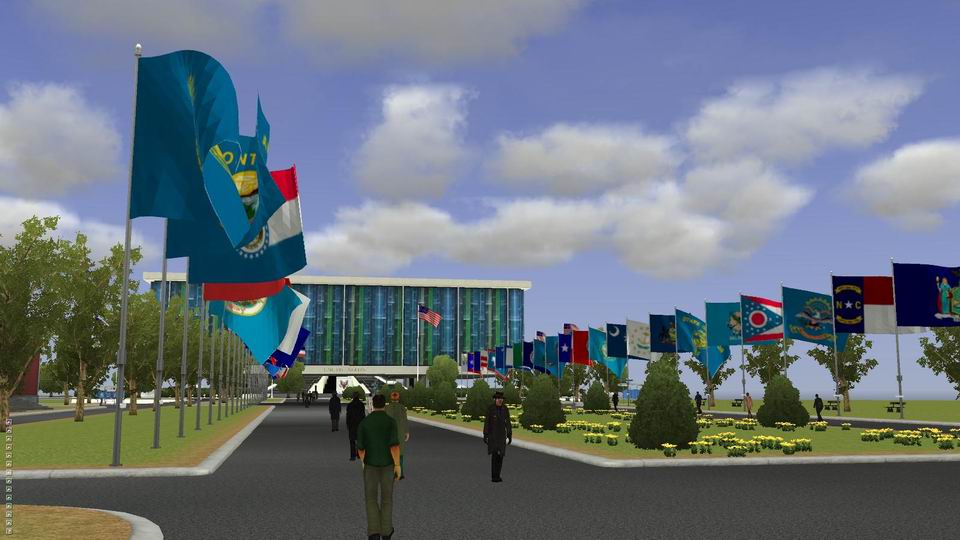
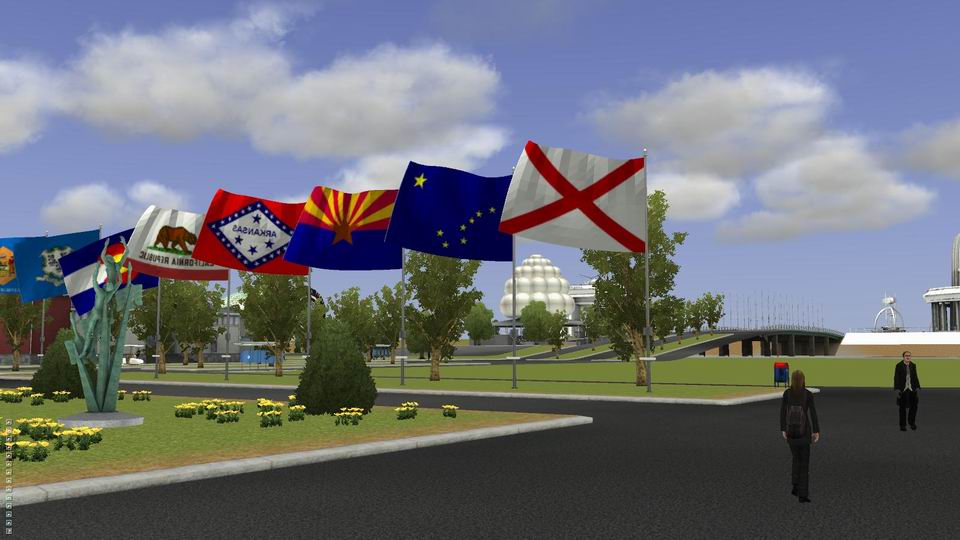
This month I Added 2008 Benches, 11 Food arches and 9 Swiss Clocks, 117 international flags and 56 fair flags. The international flags each with a different name on the plate attached to the flag pole. I also created the textures for the Meadow bridge flags in Photoshop from actual images from the fair.
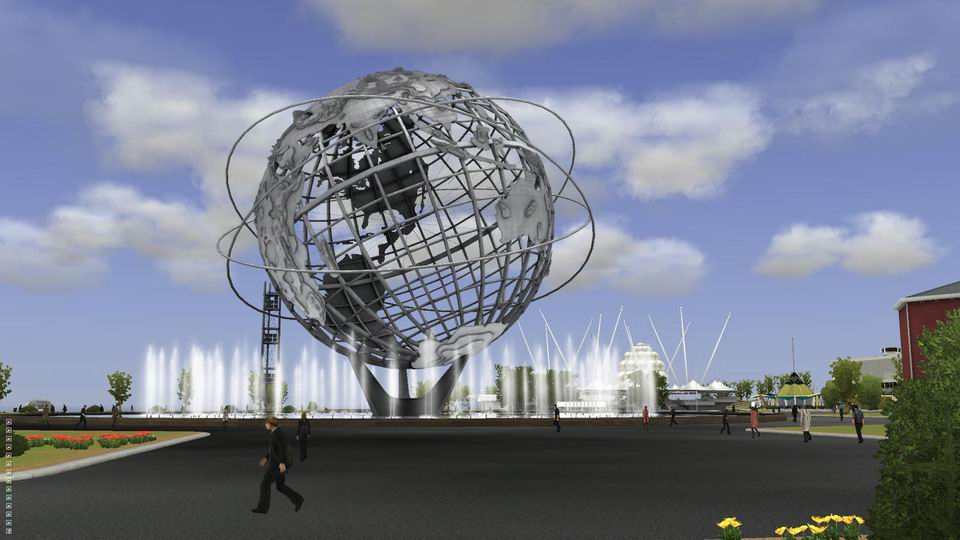
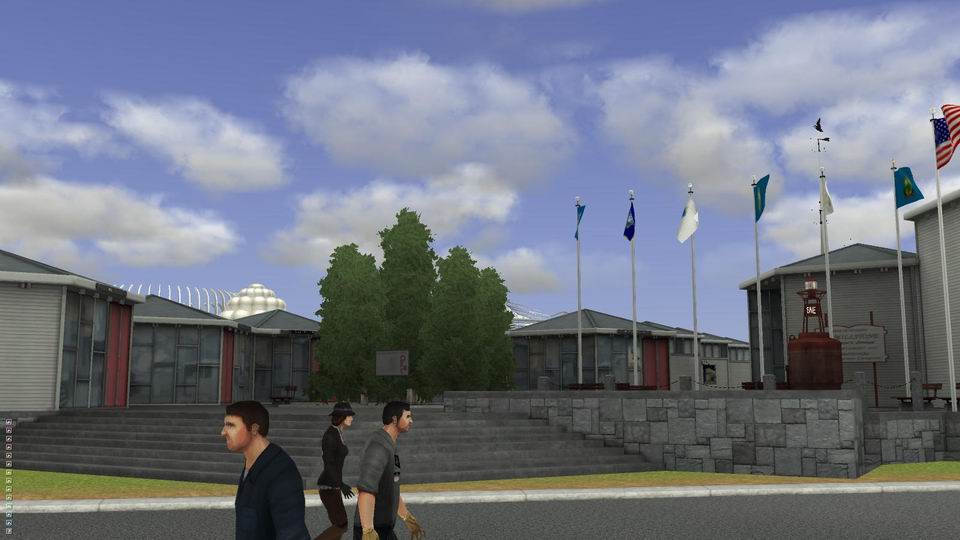
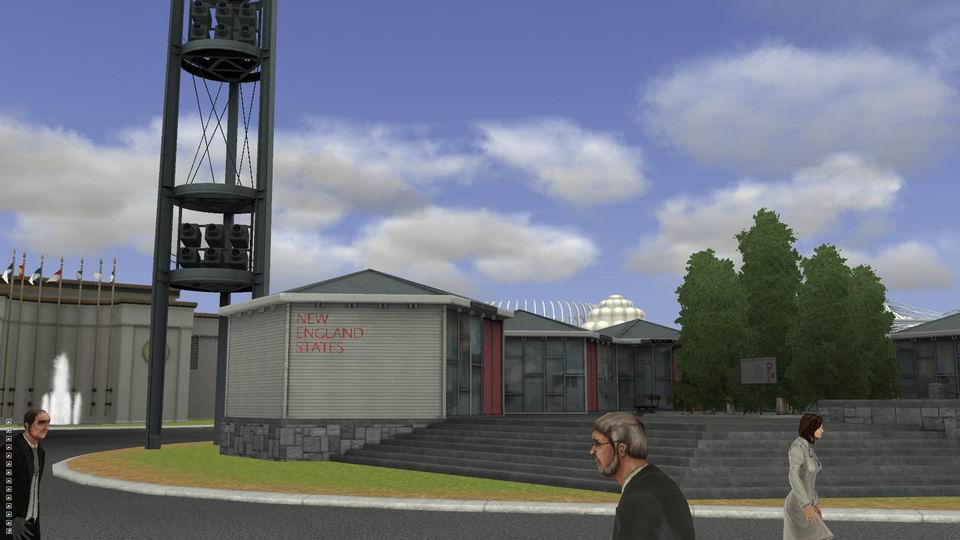
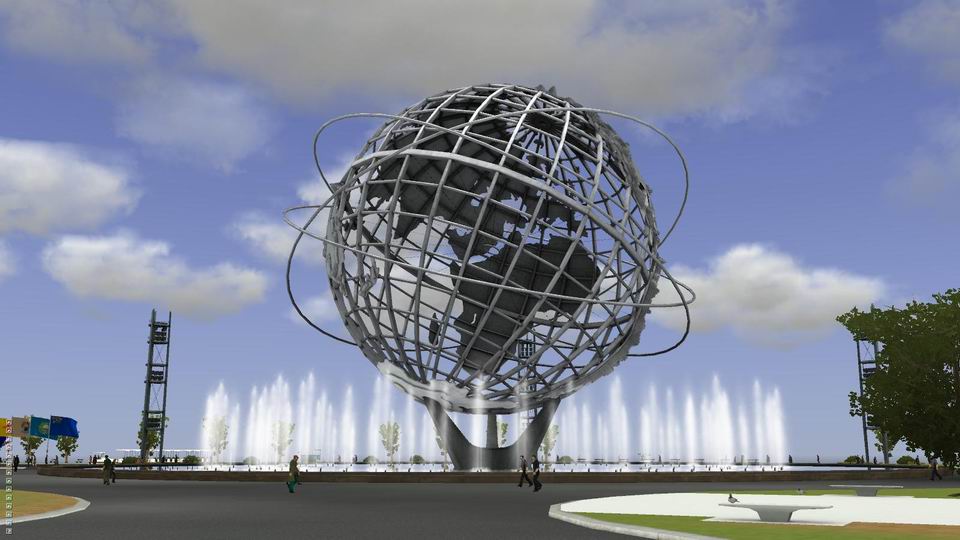
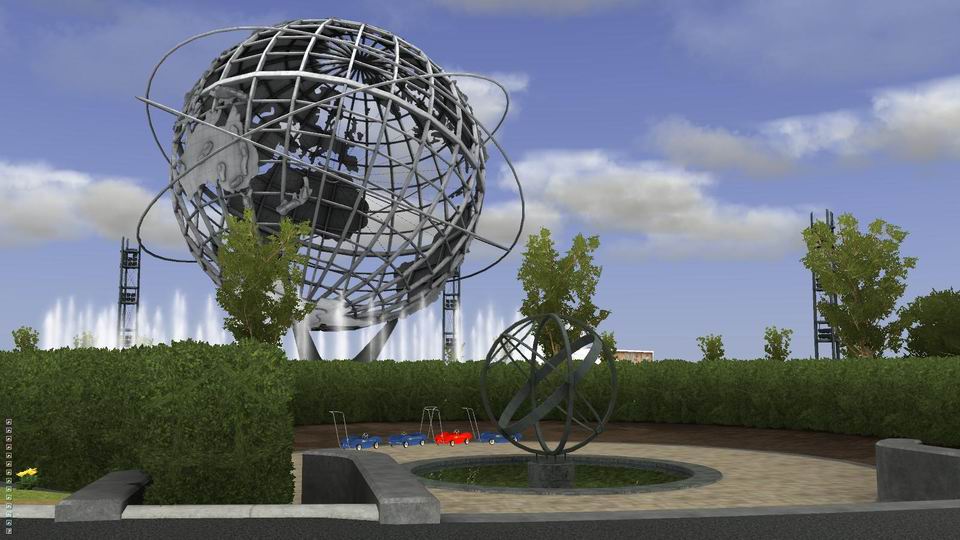
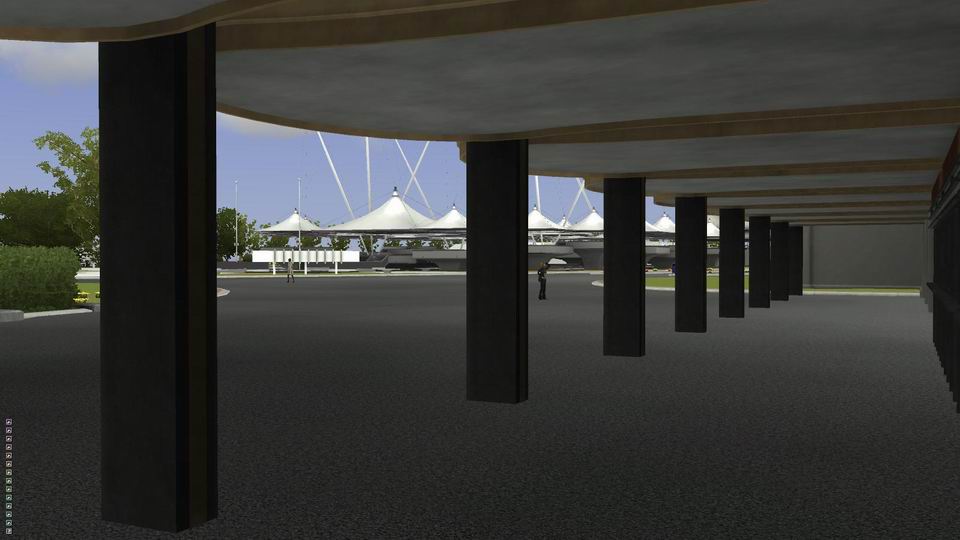
Here’s the visuals
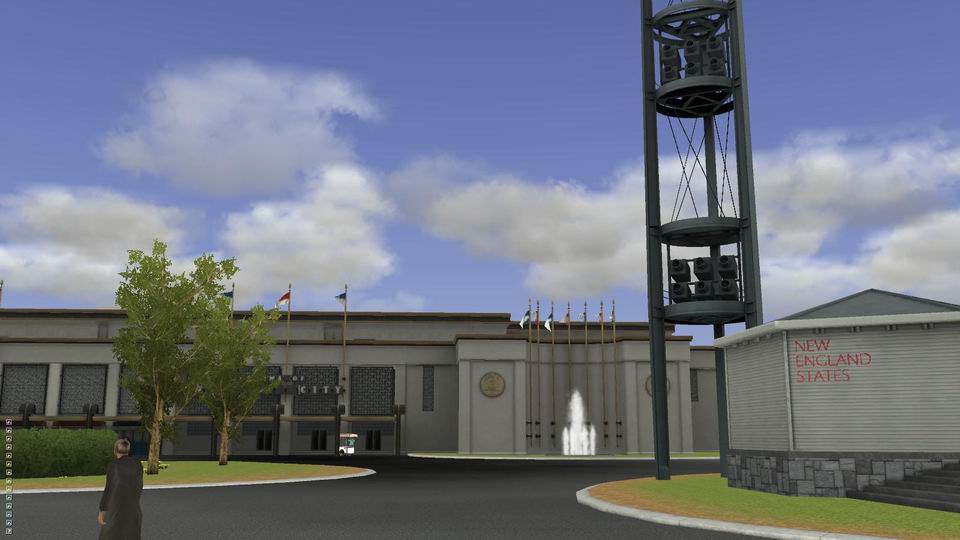
Here’s the pavilions I exported from Maya and implemented into the game.
First the Bell pavilion. Initially this model was started by Scott Giacomin and later on completed by Alex Zelenin. For me this was a straight export. I did model a walkmesh for it. The walkmesh is invisible geometry that defines where the player will be able to walk. The tricky thing about those walkmeshes is to make sure that the boundary is far away enough from the walls so the user doesn’t get a «view into the room» which basically means you can see through the house because we’re talking about single sided geometry here.
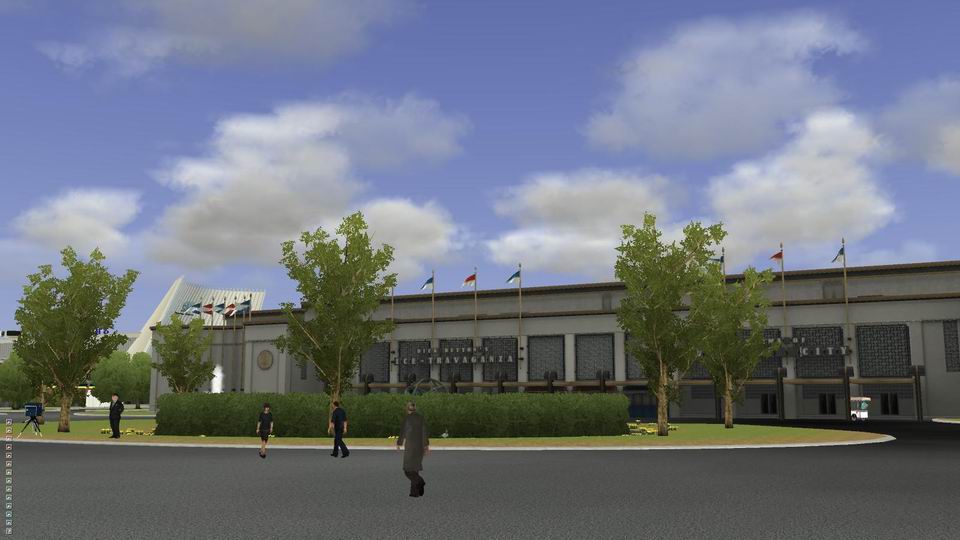
I also picked up the Kodak pavilion from Julian Orrego and finalized it. Which meant to adjust the geometry here and there, rework some of the texturing, retouching the AO map and distributing the latest bushes which we hardware instance now. Then I placed it on the actual ground plane and exported it. I also modeled a walkmesh for the entire pavilion which was complex because the roof is totally uneven. It was designed to be like a moon surface.
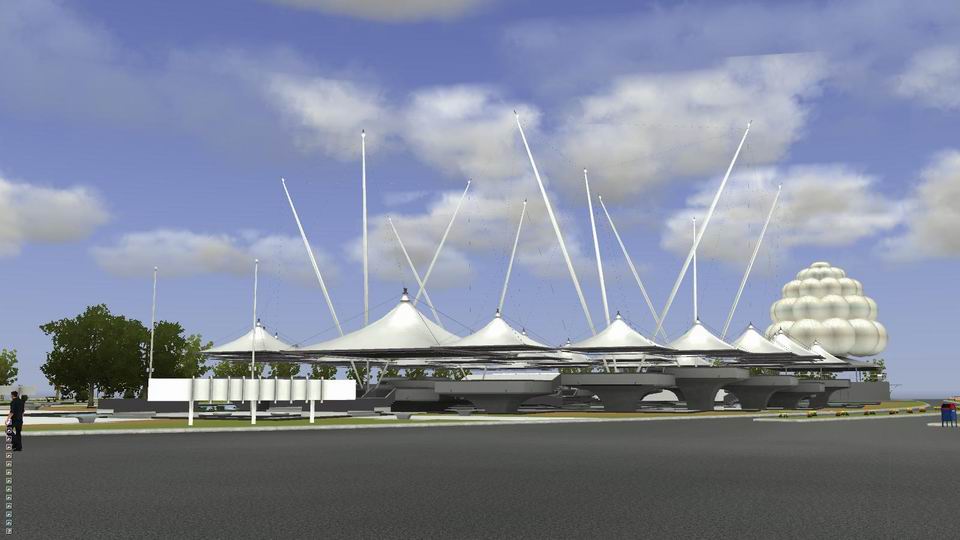
The SKF pavilion was a straight export. Thanks Eric!
Then there was Japan… This beautiful model was a a nightmare in terms of scene structure and building the walkmesh for it. It has a lot of up’s and down’s and narrow stairs and tables which needed to be cut out of the walkmesh so the player will not walk through them. I also completely replaced all the tables. I used the «replace objects with objects» script from the NYWF Maya shelf I created so it was easy to do. The tricky part was that the existing tables did were zero transformed. So I first had to add locators at each tables position using another script from the shelf that reads the pivot location in world space and places a locator and then use the above script to replace those locators with the actual tables. So it was at least not too much manual labor. The modeler on this was Chip Lundell. He was the «new kid on the block» and shall be forgiven 🙂 Beautiful model!
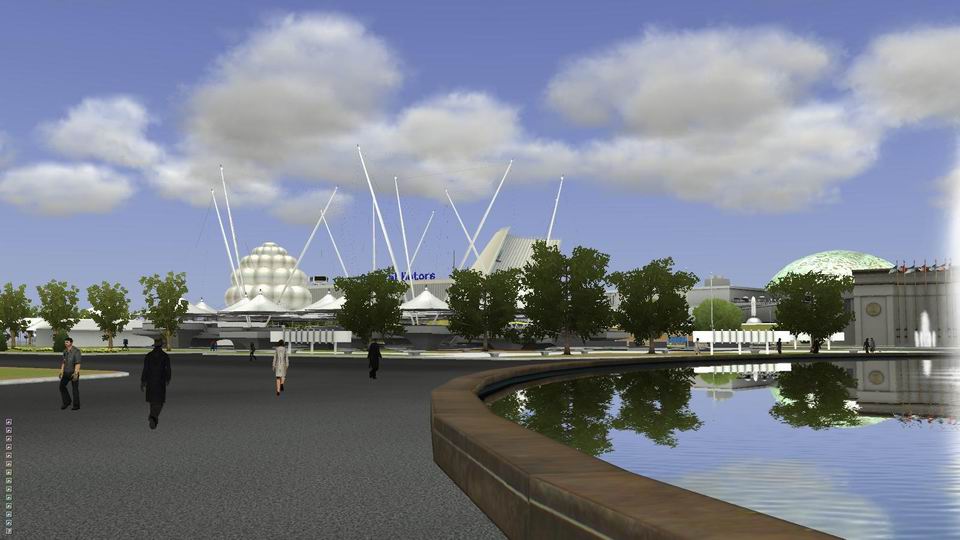
Loads of updates this month. We keep adding pavilions and improving existing ones.
This is the General Electric pavilion. I had to adjust it quite a bit so that it would fit the given ground plane. The semi transparent gray version is what I got from the modeler Julian Orrego and the colored version is what I «massaged» it into. It was not his fault. He got a perspective aerial photo taken from a plane as a ground plate which had optical distortion that made the pavilion lot appear wider.
This is the IBM pavilion. I fixed a few naming errors and exported it into the game. The modelling was done by Alex Zelenin.
On the Missouri pavilion I modeled the walk mesh. This is where the player will be able to walk (the solid yellow surface) and I exported it into the game. And I added a Gemini capsule as an exhibit into one of the pylons inside the pavilion. The modeller on this pavilion was Julian Orrego.
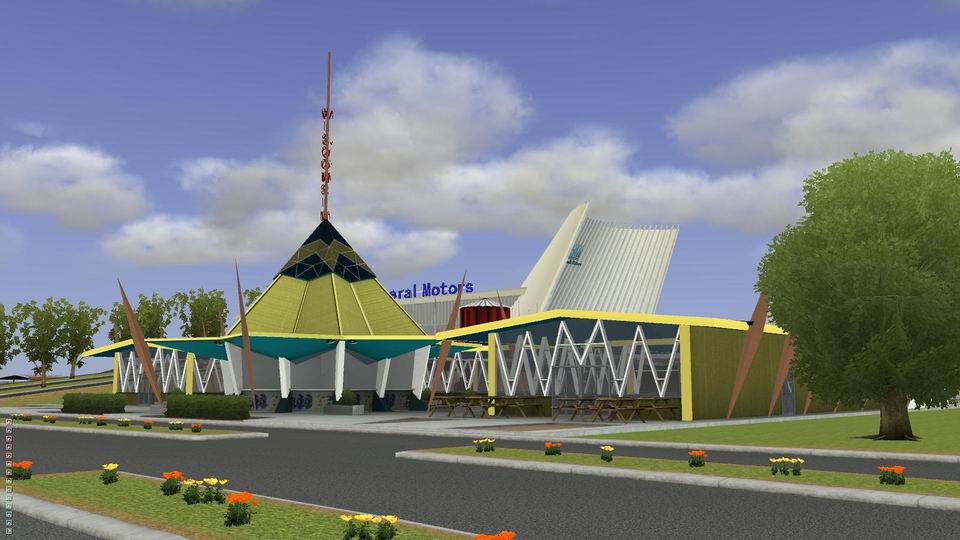
I added flowers and trees to the General Motors pavilion below and I modeled the surfaces for the water fountains. That’s a model by Julian Orrego as well.
The New York State pavilion got a walkmesh added (solid yellow surface). This is modeled by Alex Zelenin.
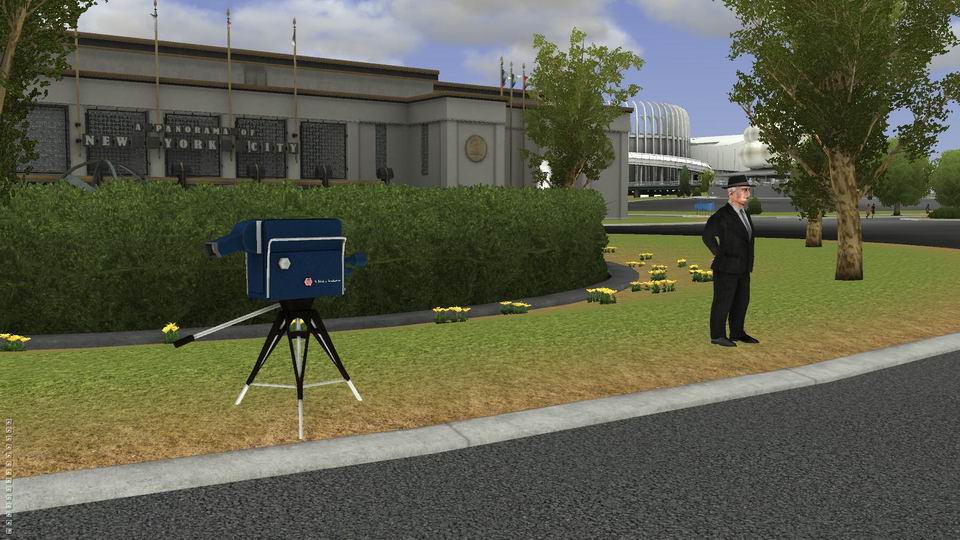
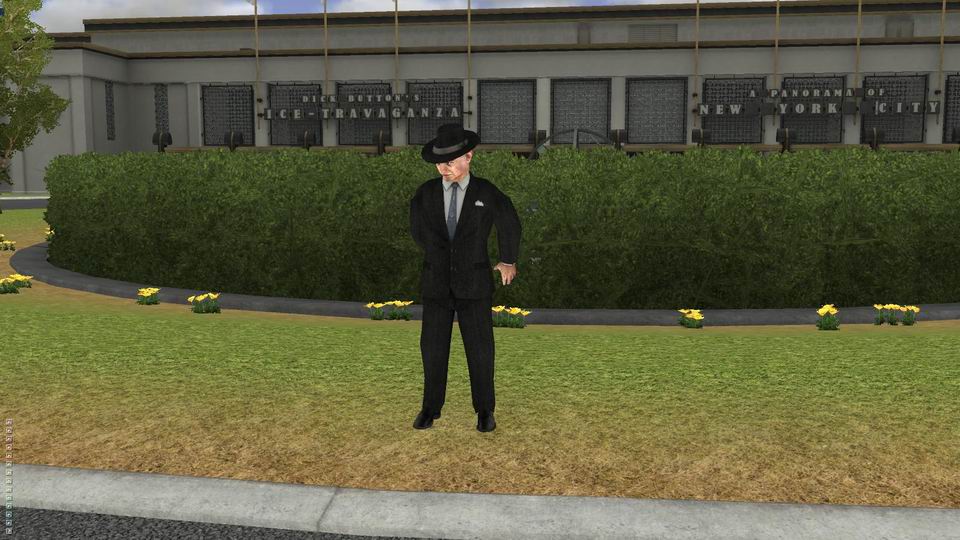
And the Chunky Plaza got a walkmesh as well. This one was tricky because there’s a lot of small items the player will have to be able to walk inbetween and find the «Artists’s Point of View» (second image). Those are the camera positions I added that we’re going to link to in code. Finding those angles will be one of the challenges. This is a model by Eric Imperiale.
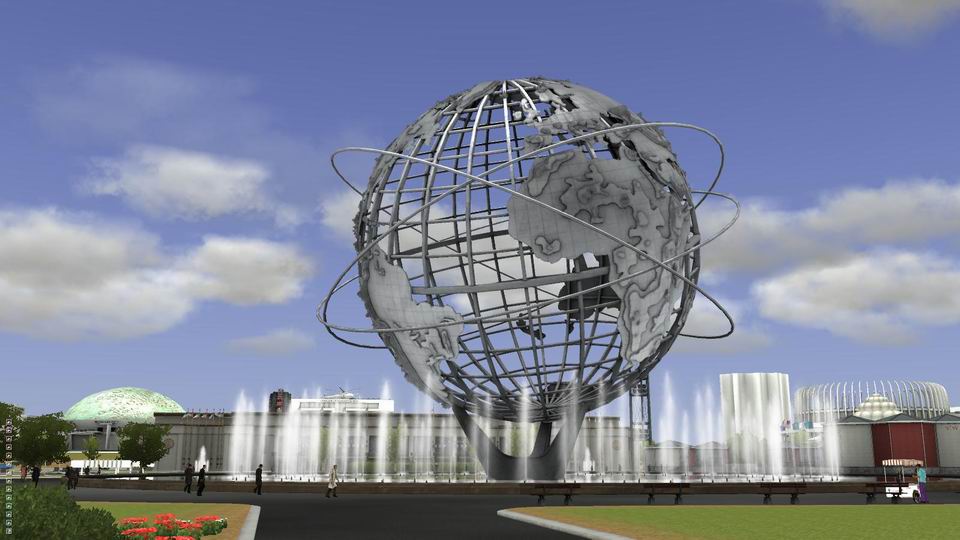
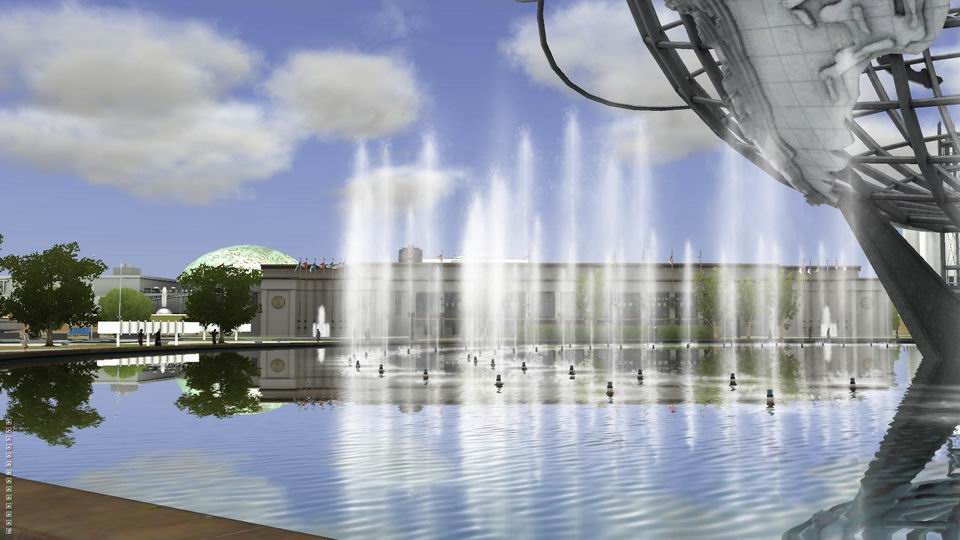
I modeled the Pool of Reflections myself and exported/implemented it into the game. First we had to cheat since the terrain is not entirely accurate in this area. So I built the pools onto an artificial hill. This is not historically accurate, but it looks good and we can keep the fair more or less planar which makes it easier to put together on so may levels.
The tricky part was the tulips. I modeled the tulips using manual LOD’s but ended up distributing only the lowest level of detail and I decided to use hardware instancing which we implemented by switching to Ogre 1.8. I distributed the using this mel 3D paint script which I suggest checking out if you ever need to paint geometry.
We conducted some research into getting a lot of different digital characters at once from another source than designing, modeling and rigging them ourselves. Through a friend I heard of evolver. The thing that made evolver very interesting was that it actually supports the Ogre 3D engine natively. So we ran a test by designing a character and exporting it to Ogre 3D and FBX off of the website. I really liked the simplicity of the interface and the great presets but also that in the process of designing the character online you can already adjust tings like textures for the face, the hair and especially the cloths directly before even downloading it. Plus the backbone of having a path to Maya via FBX would also enable us to model variants of the cloths and texture them ourselves.
We then downloaded the character and Eric added a walk cycle which we grabbed of the web onto it in Motion Builder and I exported the model with animation from Maya and implemented it into the fair.
The conclusion is that evolver delivers good quality characters and the exported rigging works straight out of the box. It’s clearly an affordable option for any production (high res video rendering and efficient games characters) to get a lot of characters fast if the character design is generic.
Here’s the interface of evolver and the end result of our test (screenshots).
I modeled the lakes and the biggest Pool, the «Pool of Industry», of the fair. We needed to know whet impact such big reflecting surfaces will have on the performance of the game and the lakes needed to be added.
I implemented the following pavilions into the fair, which means cleaning up the model and exporting it to Ogre using the OgreMax exporter.
The Chrysler pavilion was was updated by Alex Zelenin. He added trees and plants and re-baked the AO.
I inherited the General Motors pavilion from Julian Orrego to finalize. I replaced all the repeating objects with the latest versions and since a few things have changed on this pavilion I had to «massage» the geometry a lot especially on the lower LOD’s. I also modeled the walkmesh. Plus I added the animated flags.
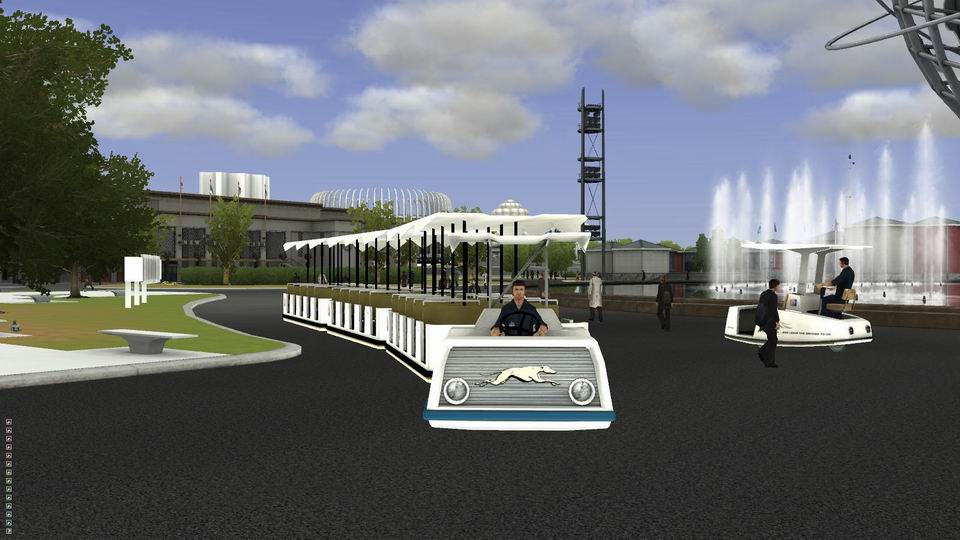
I also got to finish his Greyhound pavilion which was built based on an old version of the pavilion ground plates and had to be adjusted quite a bit. I animated the rotating sign and replaced the texture on the sign (wohoo a 359 degree y rotation animation 🙂 ). The trickiest part on this was actually to find the historically correct version of the greyhound hound logo with enough resolution.
I updated Eric’s model of the Sinclayr Dinoland pavilion. He animated the dinosaurs, added trees and re-baked the AO. I added the two Modlorama machines and exported/implemented it to the fair.
Alex Zelenin finished Shaun McNeely’s Hall of Science pavilion and added the Space Park behind it. I massaged it and exported it to the fair.
And I replaced the bushes around Alex Zelenin’s model of the Tricentenial Pool with hardware instanced versions of the bushes.
I actually got to take a week of in August. We went to the Keys and enjoyed doing a lot of nothing and off course a lot of swimming/snorkeling/sun-bathing and «it’s five o’clock somewhere». It was great!
Before that I had a major updated release of the NYWF Maya Shelf (the documentation on the shelf is somewhat outdated but there’s a video that shows it in action. I am working on updating the doc and the video. Come time available…).
The shelf contains many buttons to make repetitive tasks a matter of clicking a button. The material creation is the biggest topic of the shelf. The other big topic is naming nodes to match the NYWF naming convention. All the scripts follow the same naming convention and give the user a nice interface with drop down menus to choose the global names.
On this release I streamlined almost every single scripts. I made sure that there is documentation in every script header and that everything is compatible with each other and updated to the latest version of the cgfx and material network specifications.
Amongst bug fixes and minor adjustments all the dialogs now pick up the name of the selected object and use it as a starting point for the naming if an object is selected. The texture slots are «intelligent». Which means when the user selects a diffuse texture the script is looking for the corresponding specular, normal and AO file with the same base name on the hard disc. Also the user can now double click every button which will open the script in a text editor for more info/local documentation. Plus we moved the compiling and distribution of the installer to the internal build-server so we have history of the individual builds and that the modelers can download it at all times form a trusted source.
There’s three ways to generate materials with it that are all exportable using the OgreMax exporter.
– The latest addition is the cgfx shaders. Nick Beato* customized compiled our own version of the Maya cgfx plugins using his own cgfx shaders directly inside Maya. I added interface to create all the nodes inside Maya. On those cgfx shaders I also create all necessary OgreMax nodes for export via MEL. This shader is composed from 17 nodes (regular shader) and 38 nodes for the terrain shader which is a three pass shader with 11 textures using vertex coloring for the blending.
– Maya materials which uses a Maya LayeredShader to map the AO/Dirt map on top of the diffuse map, links a specular texture to the specular color and a normal map to a Maya bump node which is automatically set to normal map and not bump can be created. Such a shader involves 12 nodes which would have to be created and linked together by hand each time. Also doing this via a script ensures that everything is linked the same way. All the time. Those shaders need to be «converted» (OgreMax nodes added) so they can be exported into the Ogre 3D engine. The advantage is that we can also use the shaders without converting them for either hardware rendering or software rendering inside Maya. The Maya shaders can be created in 12 different structures depending on what channels need to be mapper (diffuse, specular, normal, AO) and also specialty shaders for foliage, windows or flags can be created.
Maya Shader DialogMaya Shader Network
– Fixed function materials can also be created that use blending modes to layer a diffuse and an AO/Dirt map pass on top. It creates a regular Maya material and all OgreMax material nodes and licks the texture path and diffuse, ambient, specular and emissive (incandescence) colors from the Maya to the OgreMax material. It’s concept is OgreMax Material centric. That means the Maya shader receives the parameters form the OgreMax nodes. The user tweaks the material using the Ogremax preview window directly inside Maya. There are some Maya setRange nodes that convert the color values or the specular values. Maya color information can be in HSV or RGB values and those either from 0-1 or form 0-255. Ogre only understands values from 0-1. Another case is that the Cosine Power of a Maya Phong shader goes from 2-100 and Ogre expects to see a value between 0 and 255. All those values and possibilities are caught by the script and converted so OgreMax understands the values. Plus I made an effort to make the previews in Maya and the Ogre previews match as good as possible. (Those buttons are disabled in the current version because of space on the shelf and this technique is deprecated for the NYWF production)
The other buttons are there to tune materials, convert materials, name nodes, set LOD relationships between geometry, and replace existing objects with the current selection using the existing location, rotation or scale or to export tree locations to a formatted text file for the woody 3D tree system. And then there’s the «Fence Builder» section which enables the user to distribute objects along curves (using point to point tangent, normal and bi-normals), draw curves with a predefined edit point spacing or rebuild curves using a specific distance between the points.
Here’s a compilation image of some of the scripts
*Nick is not only one of the most talented programmers I had the honor to work with he also makes great music!!
I wanted to share some great tools I recently bought.
ShaderMap
First there is ShaderMap. ShaderMap creates textures for displacement, normal, ambient occlusion, specular and DUDV maps for refraction. After test driving and evaluating CrazyBump and ShaderMap my choice fell on ShaderMap. First, the price… A full version of ShaderMap is $20 vs. $200 for CrazyBump. But not only the price was an influence. I think the interface of ShaderMap is vay superios than Crazybump. In ShaderMap all the functions are right at your finger tip. All the different maps are in the same pane. I didn’t like the step-by-step approach the CrazyBump interface has.
Both programs create great maps. At the end of the day the interface decided the winner here even though the interface is not scalable it is more organized than CrazyBump.
ShaderMapCrazyBump
faogen
Sitting and waiting for any 3D app to render is tedious. The word «mental» in a certain renderer is synonymy for the state of it’s users…
I was looking for an alternative to bake AO passes and found one: faogen (Fast AO Generator)
It uses the graphics card to render the ambient occlusion. While the user interface is simple and easy it also allows the more experienced artists to fiddle with more advanced things as the shader that is used to AO bake etc.
I just want nice looking AO maps in no time and that is exactly what faogen does.
The following images show what took me 5 minutes to do. Opening the geometry (A) rendering with default settings (B) and adjusting the settings a bit. The five minutes includes rendering btw.
After completing the work for the AAS demo of the NYWF project we crawled back to our cave and started questioning whether it’s a good idea to continue working with the Ogre 3D engine.
I took on Unity and rebuilt parts of the fair from the content we have from the AAAS demo.
Unity is a very modern game engine. It supports all the new devices and platforms. It’s very convenient since authoring one game means you’ll be able to deliver on several platforms.
The downside of Unity is the lack of support for industry standards like LOD switching as well as an integrated node based shader editor. For things like that the users of Unity have to rely on the community. While there are tons of such micro solutions out there, there’s no way any game studio would rely on third parties to continuously support such tools on their own. «You get what you pay for» comes to my mind. And «OpenSource is freeware»…
We decided to keep going with Ogre3D mainly because of licensing issues. While all engines provide an EDU licensing scheme, that scheme is meant to be for educational purposes only. As long as you distribute your game for free, you might use the engine for free. But since our final deliverable is going to go into museums where people pay admission, we had to drop almost all of the engines immediately.
I extended the NYWF material creation dialog to include the NYWF naming convention. This way the materials are named correctly and the user has convenient presets for the global parts of the name.
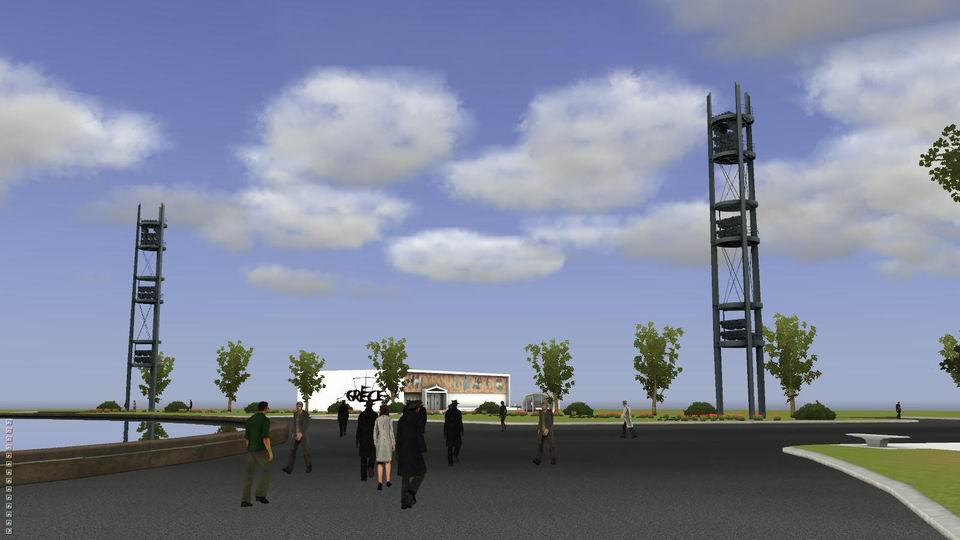
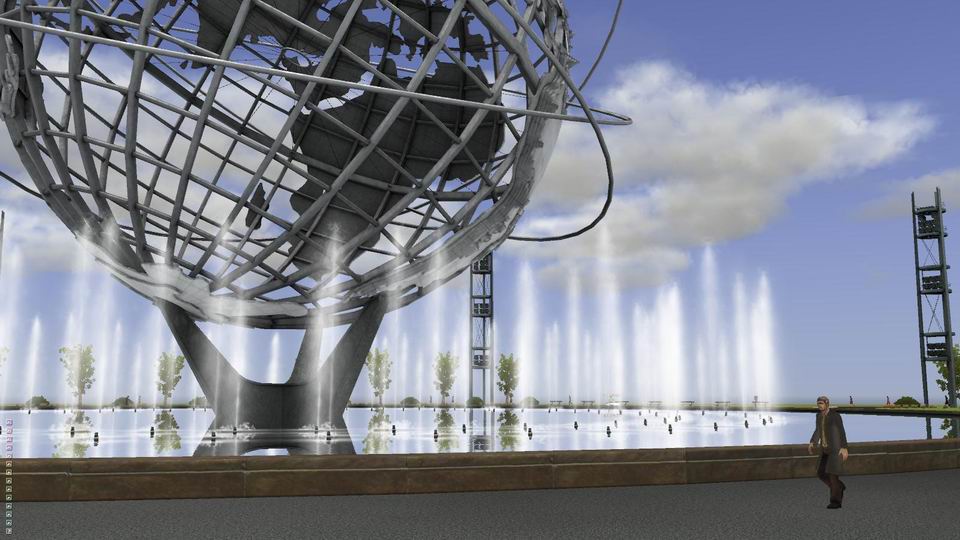
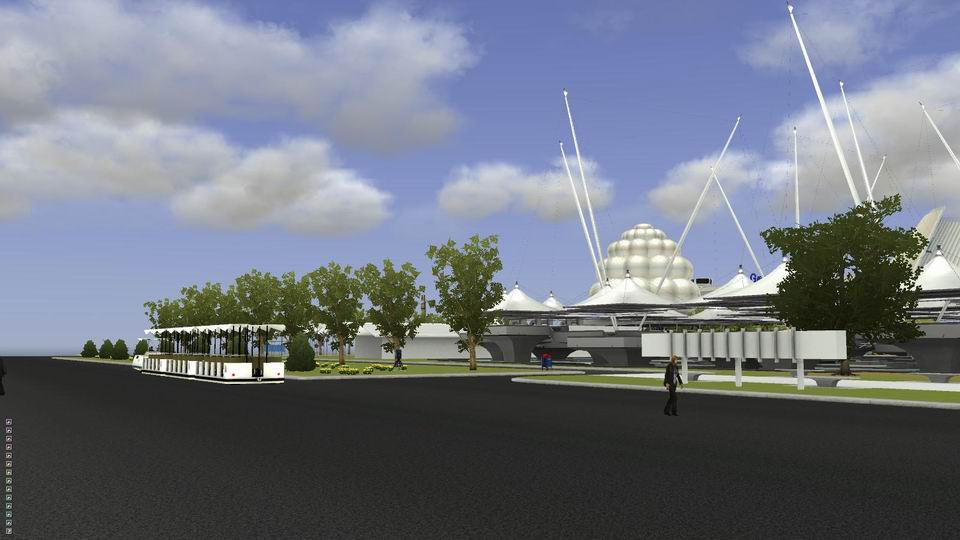
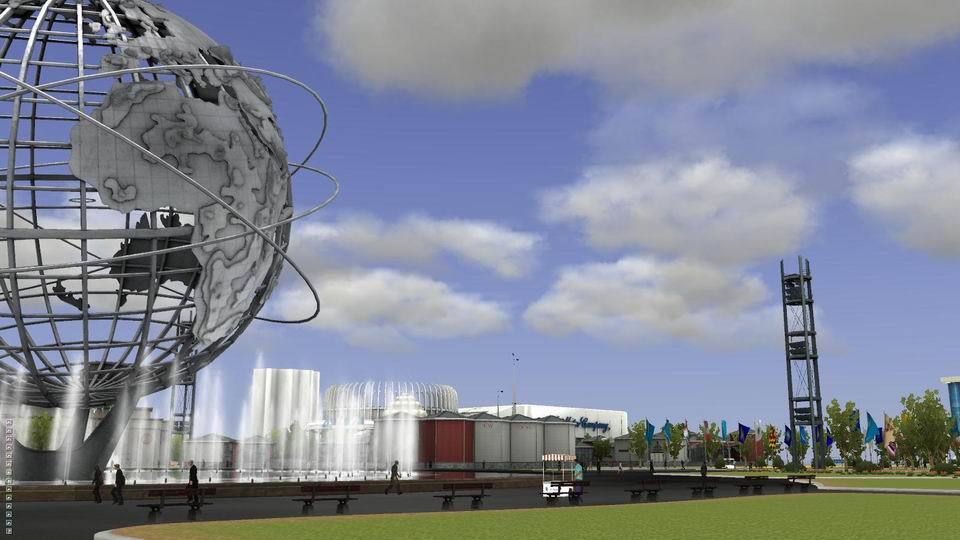
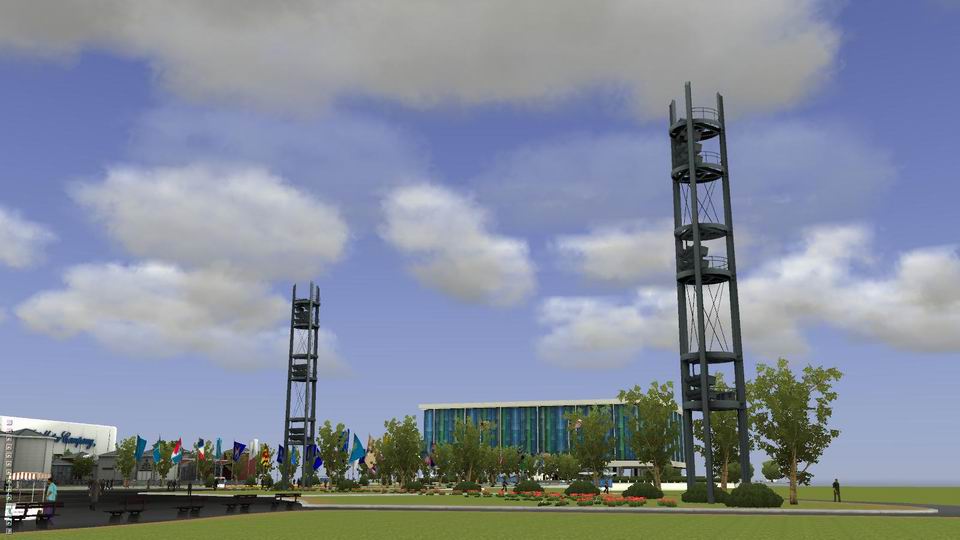
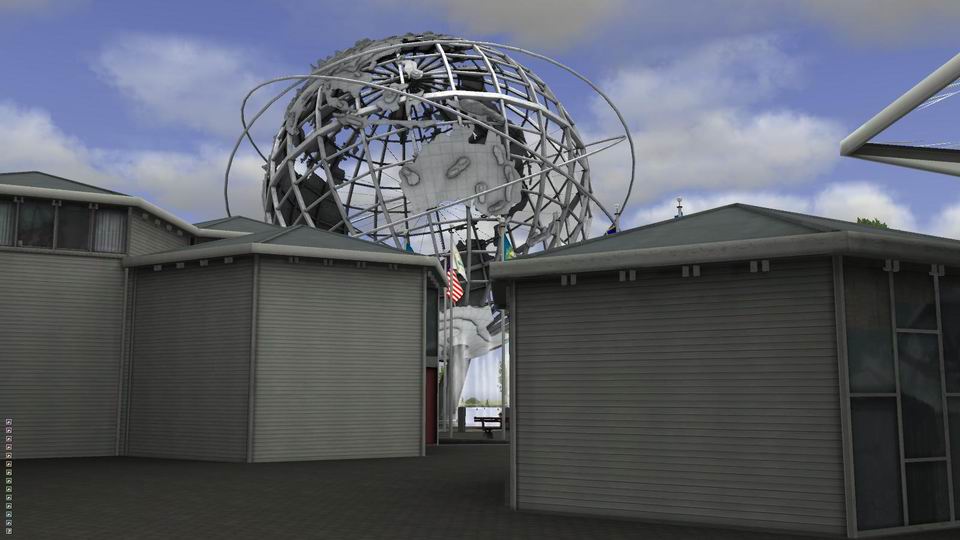
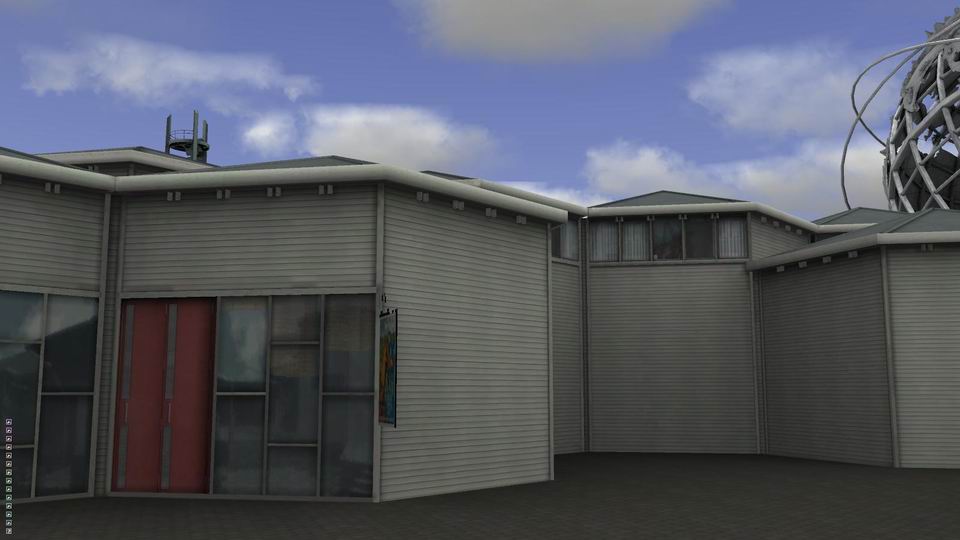
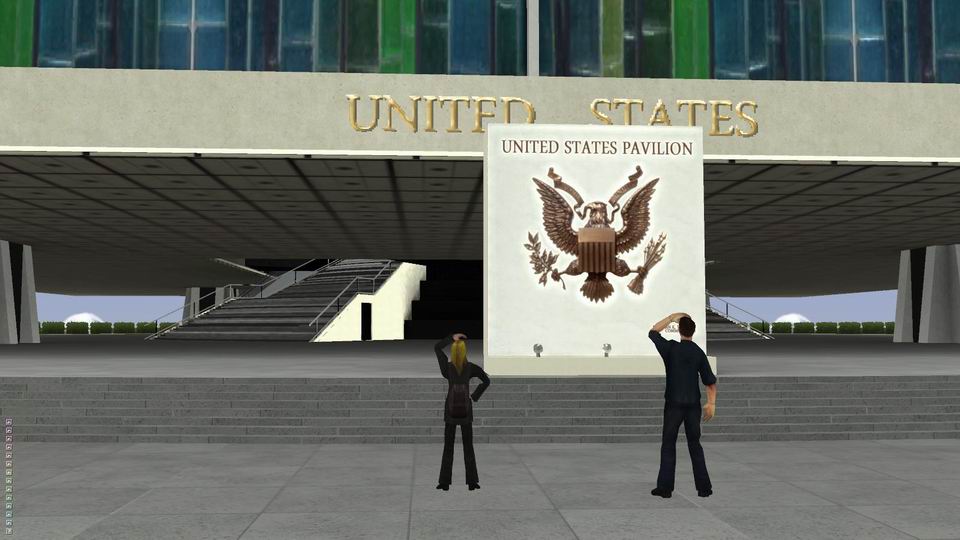
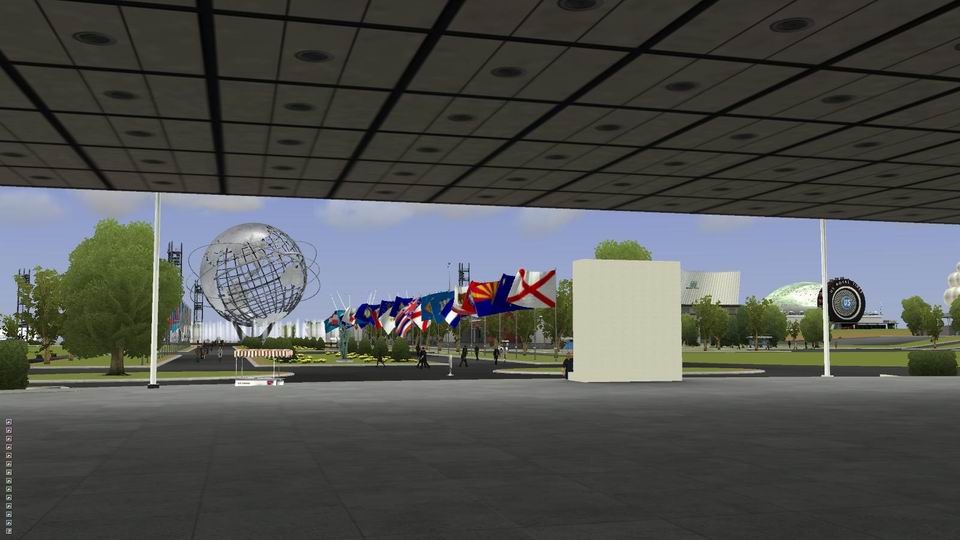
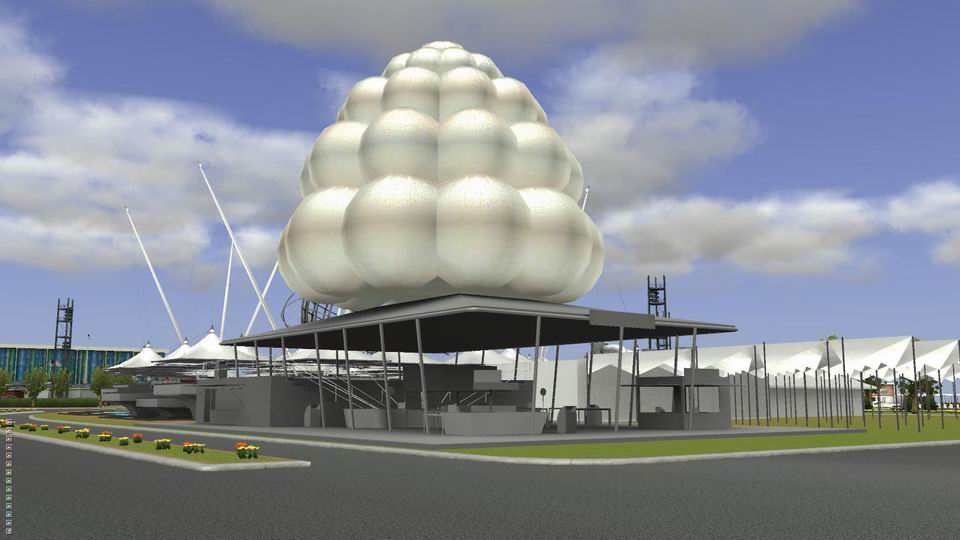
Here are some shots of the New York World’s Fair proxy simulation I built. The idea behind this was to get an estimate on how many polygons the Ogre engine can take and also it should be used as a playground to implement gameplay mechanisms.
The 3 LOD’s range from 50’000 (low level, pink) over 1.8 million (medium level, green) to 15 million polygons (highest level, turquoise). If all of either LODs is loaded at once that is.
In most cases only the very close buildings are seen in the highest level of detail.
While visually not very attractive this was a good footprint of the complete product and a great test-bed.
Different LODs showingDetail ShotDetail ShotDetail Shot